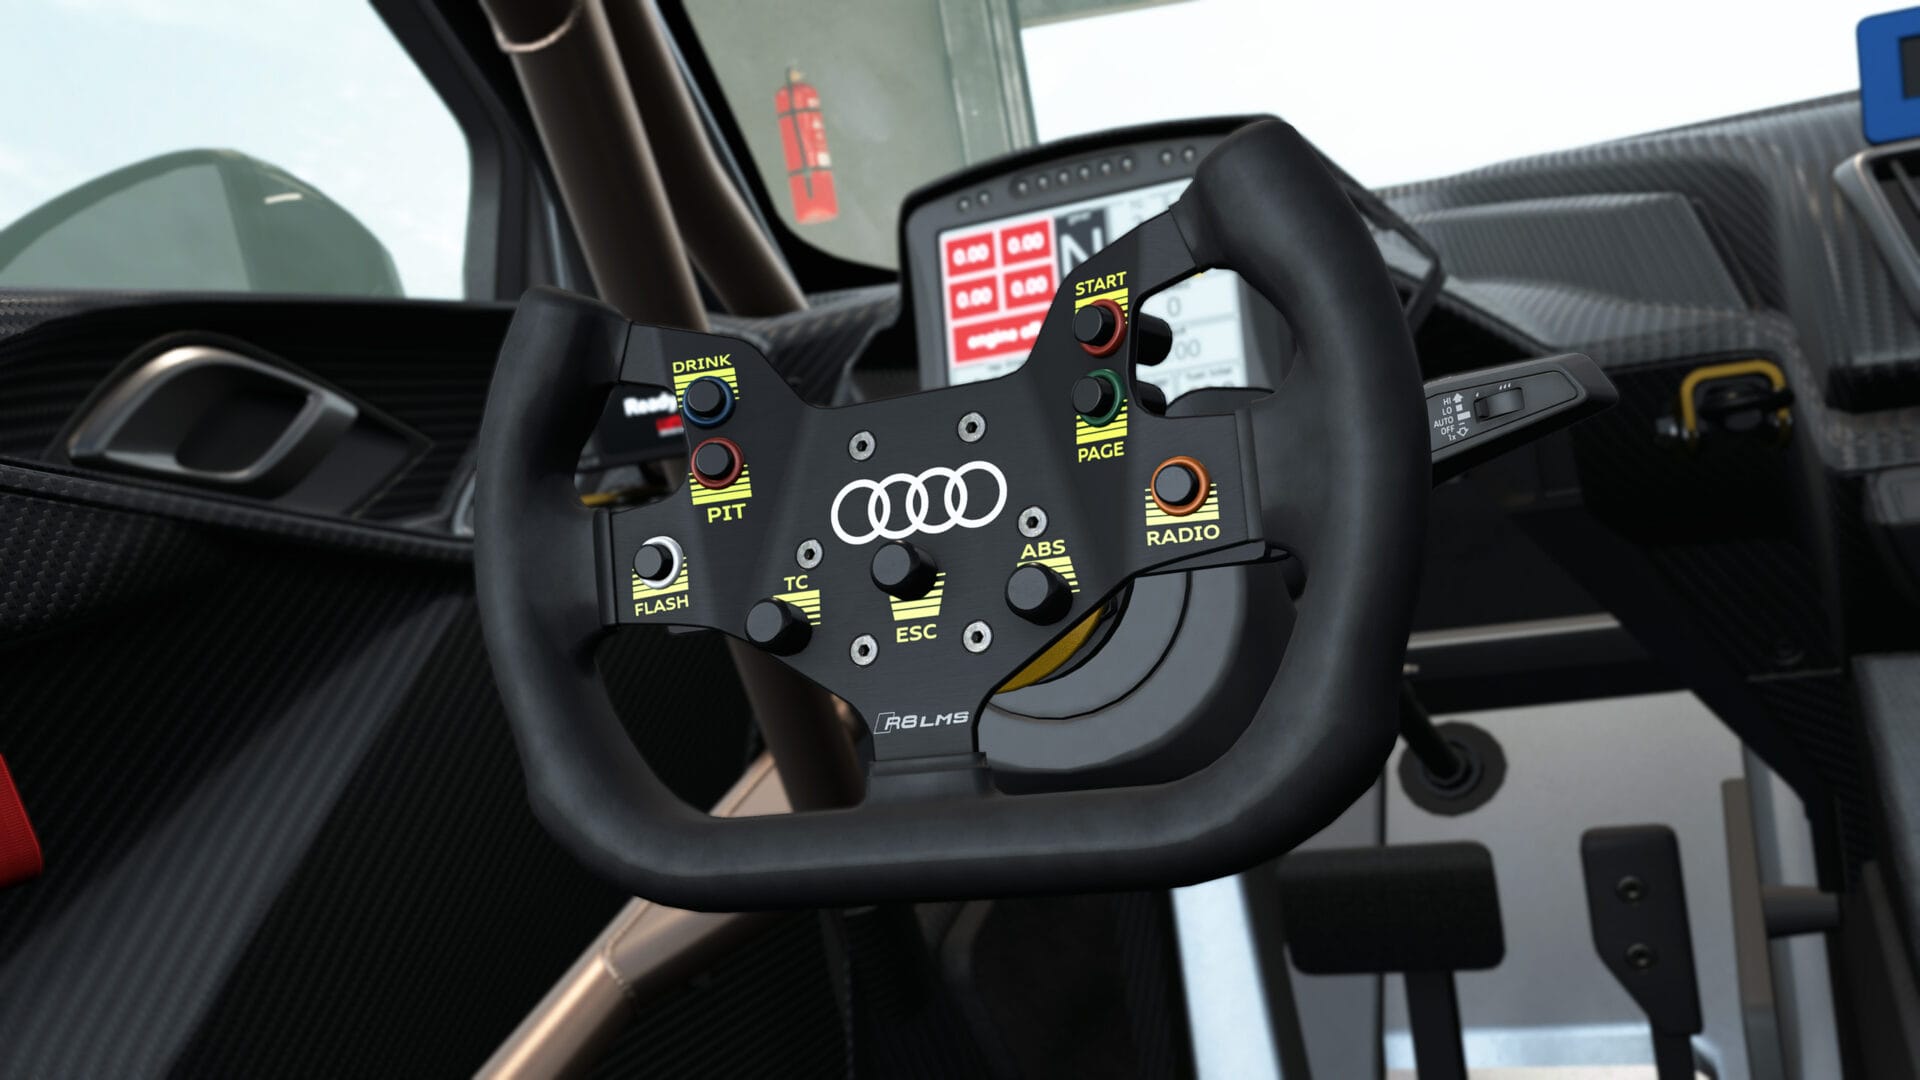
For R5/R5 Pro, keep wheel-side output high, match Steering Lock, then start around 70–80% in-game FFB Gain with Dynamic Damping around 40% and Damper Gain around 20%. KUNOS’s generic MOZA example uses an 8 Nm value; do not enter 8 Nm as if an R5 can produce it — the R5 is 5.5 Nm and R5 Pro is 6 Nm.
- Use the actual wheelbase capability: 5.5 Nm R5 or 6 Nm R5 Pro
- Start with a high wheel-side output and tune final strength in EVO
- Retest after EVO 0.9 because KUNOS changed FFB/input behaviour
- Do not copy the generic 8 Nm MOZA example literally
- Do not add heavy damping just to stop a setup that is clipping
- Do not change Pit House and in-game settings simultaneously while diagnosing feel
Settings & checks at a glance
| MOZA R5 torque | 5.5 Nm |
|---|---|
| MOZA R5 Pro torque | 6 Nm |
| Wheel-side output | Start high / 100% is a practical baseline |
| EVO FFB Gain | Start around 70–80%, tune by clipping/comfort |
| Dynamic Damping | 40% reference |
| Damper Gain | 20% reference |
| Road Effects | Start 0–10% |
Why the generic MOZA profile needs adapting
KUNOS’s wheel guide includes a generic MOZA example that references 8 Nm. That is useful for understanding the tuning philosophy, but it is not the physical output of an R5 or R5 Pro. The R5 is rated at 5.5 Nm and the R5 Pro at 6 Nm.
Checkpoint Loadout starting point
Use high wheel-side output in MOZA Pit House so EVO has the wheelbase’s full usable range, then start around 70–80% FFB Gain in the game. Keep Dynamic Damping near the official 40% reference, Damper Gain near 20%, and Road Effects low. This is a starting profile, not a claim that every car needs the same final Gain.
Steering lock must agree
Set the wheel rotation/lock in Pit House and use the same value in EVO. A mismatch can make the car feel nervous, lazy or simply wrong even when the force feedback itself is fine.
R5: prioritise detail over “heavy”
With 5.5 Nm available, running the game too aggressively can spend most of that headroom on sustained cornering force. Lower Gain until you can distinguish load building through a corner rather than feeling one flat maximum.
R5 Pro: use the extra headroom, do not chase violence
The 6 Nm R5 Pro gives a little more room for peaks, but the same principle applies. The goal is readable tyre loading and transient detail, not making every kerb a strength test.
Oscillation on straights
First make sure steering range is correct and that you are not massively overdriving Gain. If the wheel still wants to oscillate with your hands lightly on it, add damping in small steps rather than jumping to a heavy global value.
0.9 retest
Because EVO 0.9 includes a force-feedback and input reliability pass, retest any old R5 preset. A profile built around earlier behaviour may not be the best reference after the update.
What FFB Gain should I use for a MOZA R5 in Assetto Corsa EVO?
Start around 70–80% in-game with high wheel-side output, then reduce it if sustained corners clip or feel uniformly heavy. Treat the number as a baseline, not a universal final setting.
Should I set the R5 to 8 Nm because the KUNOS guide says 8 Nm?
No. The generic MOZA example uses an 8 Nm reference. The standard R5 is a 5.5 Nm wheelbase and the R5 Pro is 6 Nm.
What should I use for Dynamic Damping?
40% is KUNOS’s reference value. Adjust in small steps after Gain and steering lock are correct.
Why does my R5 oscillate on straights?
Check steering lock and excessive Gain first. If those are correct, add damping gradually rather than masking the issue with a large jump.
How much Road Effects should I use?
Start at 0–10%. Add texture only if you want it; avoid using Road Effects as a substitute for real steering-load detail.
Do these settings also work on the R5 Pro?
Yes as a tuning method, but the R5 Pro has 6 Nm rather than 5.5 Nm. You can use the same baseline and then tune Gain to your preferred force level.

MOZA R5 Racing Bundle
The standard R5 covered by these settings.

MOZA R5 Pro Racing Simulator
The newer 6 Nm R5 Pro covered by the same tuning approach.
Amazon prices and availability change frequently, so we show a current Amazon UK link rather than copying a price that may be stale.
Assetto Corsa EVO Wheel Setup Guide 2026: Calibration, FFB and the Best Starting Point
Read next →MOZA R5 vs Thrustmaster T598: Which Direct-Drive Bundle Should You Buy?
Read next →Best Upgrades for a MOZA R5 or R5 Pro Setup: What to Buy First
Read next →Sources
Key specifications and factual claims are checked against manufacturer or primary-source material where available.
About this article
This page is a researched guide or comparison, not a claim of hands-on testing unless we explicitly say otherwise. Product specifications and availability can change, so important buying details are checked against current source material when the article is updated. Affiliate availability does not determine the underlying recommendation.